Tuesday, May 28, 2013

Toasting marshmallows with a twist

I have such funny happy memories as child camping in my best friend Kate's kitchen in a makeshift tent made out of umbrellas, chairs + bed sheets...

Part of the camping experience would involve toasting marshmallows held by forks over a tea light. saying that we'd basically try to toast anything we got our hands on, already toasted bread along with the cooked sausages that came with them HA....

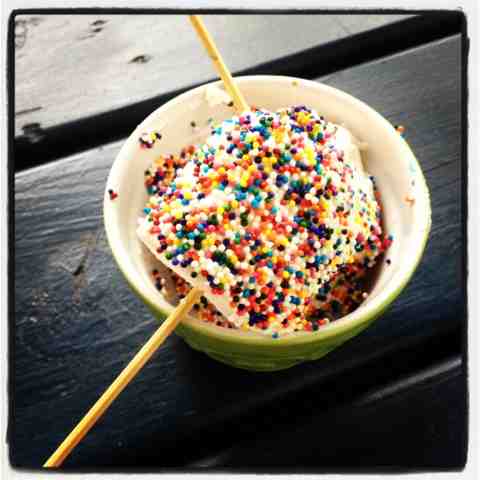
So to pass on my heart warming nostalgia to my wee ones we decided after our BBQ this evening we would toast some gigantic marshmallows over the flames + delight Lottie-daisy with the gooey rainbow sprinkled blob on a skewer...

For this messy adventure you will need:
Gigantic marshmallows{1 per person}
BBQ skewers
Rainbow sprinkles

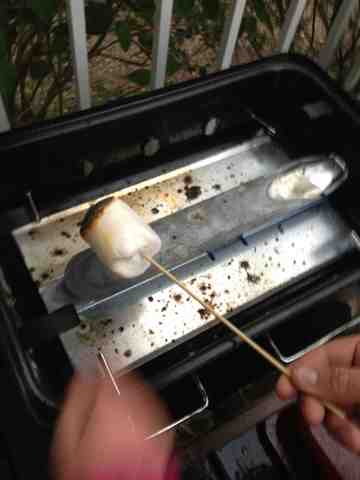
This is a super quick process with big rewards. Firstly place your marshmallows on their skewers, next hold them over the flames + watch them scorch in a matter of moments. Keep turning the skewer every few seconds so it's sizzly all over.

What I like to do next once I'm finished toasting them is to literally pull off the scorched skin to unveil the gooey marshmallow underneath + straight away dunk it in my bowl of rainbow sprinkles...FAB

This will be a winner with adults + children after your BBQ, sit back + enjoy..

Enjoy 
Rebecca xx


Something funny for you..Worlds biggest BBQ's


http://www.calorgas.ie/biggest-bbqs-on-earth
-infographic/

Wednesday, May 22, 2013

The hubby's shortbread cookies


As long as I can remember when christmas came around in our house so did the tins of shortbread cookies sprinkled with sugar in all different shapes, they were my dads all time favourites + now it turns out its the hubby's all time fave cookie all year round not just christmas, at christmas the dosage just goes up in shocking quantities!!!!

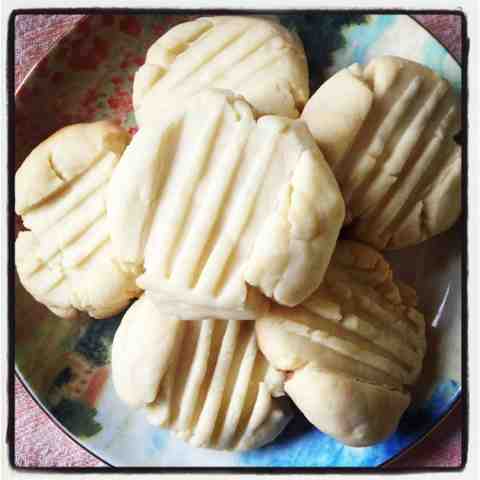
So christmas gone I decided I was going to make food hampers for everyone instead of buying something for the sake of buying it.... One of the hamper fillers was these shortbread cookies + they were a complete success . So now that we are in Canada + the Hubby is working all hours I said it would be the perfect treat for him when he came home this evening...

For this recipe you will need:

180g of real butter
70g of icing sugar
2 teaspoons of baking powder
180g of flour
70g of corn flour

Firstly pop the oven on @ 160'
Make sure your butter is really soft so it is easy to cream with your icing sugar. Next add the flour, corn flour + baking powder together, then slowly mix all the ingredients together. The consistency will be quite crumbly but thats good that is the nature of the cookie.

Once it has almost come together dust your countertop with flour and topple out your dough + knead for a moment or two. Next wrap the dough in cling film + pop in your fridge for 1/2 hour.

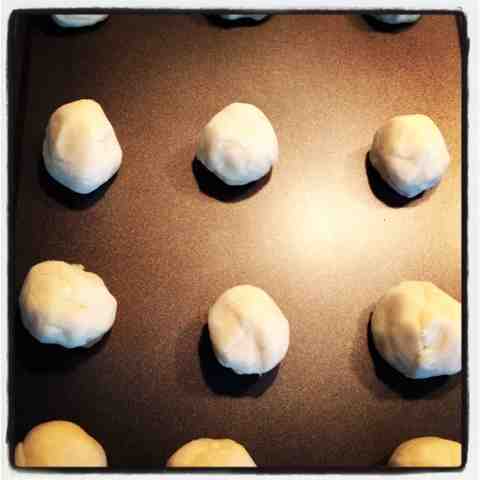
So  1/2 hour is up unwrap the dough + pull off approximately 23 little dough balls + place on your baking trays. Lastly get a fork + squash down onto the dough. Pop these in the oven for no more than 12 mins. they will come out light in colour but I guarantee they will be fully cooked....

Be prepared to eat 1/3 of the cookies once they come out of the oven as they are to irresistible!!!!


Thursday, May 16, 2013

Porridge 3 ways

This is just a quick blog about breakfast time in my house we seem to be like the three little bears. We all have porridge but everyone has it in their own differnt way. Lillie-B been the youngest just has her porridge simply with a splash milk. Next there is Lottie-D the unofficial picky eater she has her porridge with strawberry yogurt swirled in. Then lastly there is me + I love my porridge with a blog of local honey YUM.....

Just goes to show porridge can be had at any age + for any taste

ENJOY XX


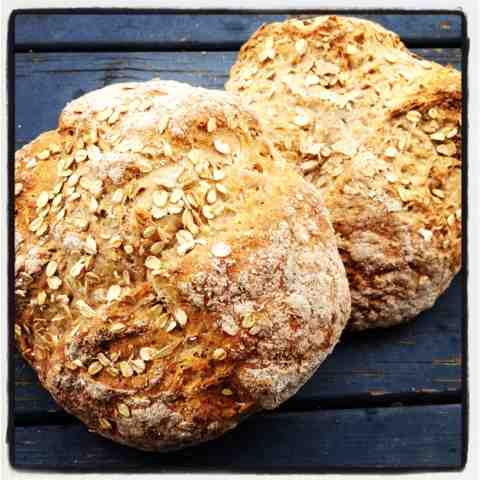
Super easy brown soda bread

Brown soda bread is just one of those things that is a must on any irish families kitchen table. It only has a hand full of ingredients all of which are good for you, low in fat + full of yumminess.

In a past blog I have shared a brown soda bread with you all but this new one is even easier for you to make + most importantly is fool proof, perfect for any novice out there.It takes no time at all to prepare + you'll be eating this bad boy with in the hour.

For this recipe you will need:
2 cups of white flour
2 cups of 100% wholewheat flour
1 cup of jumbo oats
1 teaspoon salt
1 teaspoon of baking soda
1 pint of buttermilk

Firstly pre heat your oven @200'

Start by adding all the dry ingredients in a bowl and combine together well. Next pour in most of your buttermilk + mix well, once its almost combined pour in the last of buttermilk. Don't forget to scrape the bottom of the bowl you'll always have a few scragglers left behind.

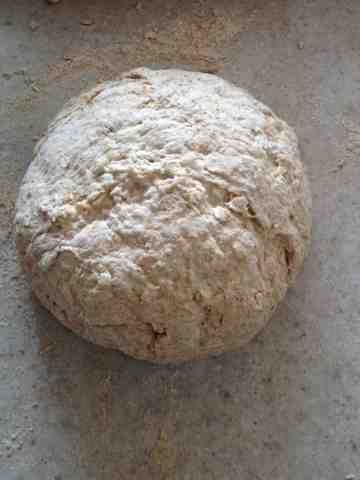
Next on your counter top sprinkle some wholemeal flour out, then flour your hands + plonk out the bread mixture. Here you are going to spend a few minutes kneading the brown bread, adding wholemeal flour to the countertop + hands as needed. There is no doubt that you will need to scrape some dough off your hands and the countertop so don't let this fluster you. In the end you want the finish product to be even + oval in shape.

Dust your baking tray with wholewheat flour place the dough on it, then with a knife cut a cross on the top of the dough this allows the bread to expand. Sprinkle some those jumbo oats over the top before you pop it in the oven for 40 mins.

3/4 way through the baking time i like to turn the brown bread around so as to give an even browning. Once your timer beeps open the over turn the bread upside down + give the underneath a wee tap it should sound hollow... bobs your uncle your brown bread is baked...

this brown bread is perfect for freezing thats if you have the discipline not to eat it all

ENJOY XX


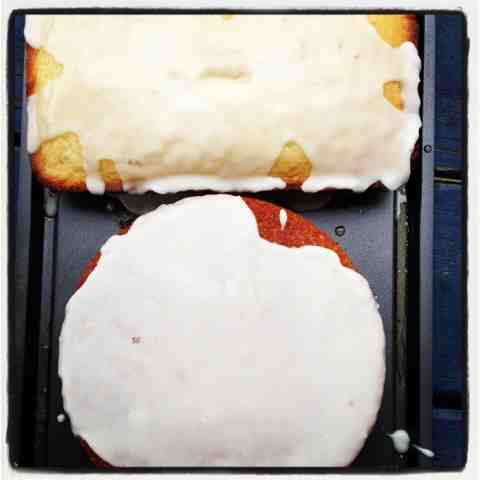
lemon infused buttermilk cake with an orange drizzle

Sometimes in life a cup of tea just isnt enough to hit the spot + whats nicer than a biscuit with a cup of tea....CAKE thats what.
Well this cake is just perfect with a nice hot cup of tea especially when a certain Lillie-B is taking her nap + a certain mammy needs a recharge from the constant tornado of destruction that is her two little darlings!!!!
This recipe actually makes two loaf cakes so you'll always have an emergency cake in the freezer for any excuse possible.

For this recipe you will need.
2 cups of butter
2 cups of sugar
4 eggs
1/4 cup of lemon zest
1/3 cup lemon juice
1 cup butter milk
3 cups of flour
1/2 teaspoon baking powder
1/2 teaspoon baking soda
1 teaspoon salt

For the sugar syrup:
1/2 cup sugar
1/2 cup lemon + orange juice

For the orange drizzle
2 cups icing sugar
Orange juice

Firstly pre heat your oven @160'
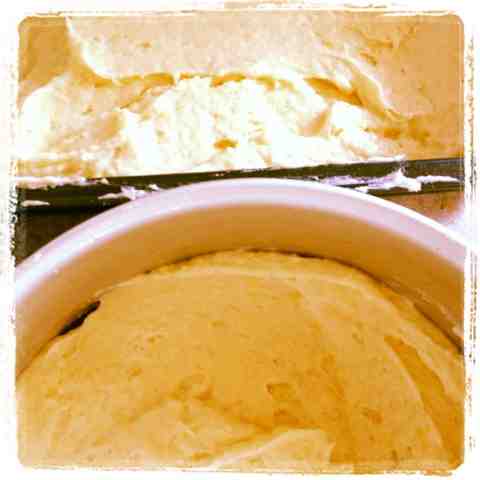
Cream your soft butter + sugar together until light and creamy next add your eggs one at a time so as not to split. Once everything has combined well add the zest of your lemon + the juice of the lemon, then combine.

In another bowl combine your dry ingredients well making sure there are no lumps or bumps. Now we are going to add your dry ingredients + your buttermilk to your sugar, butter + eggs. Do this in rotation, flour first then buttermilk, then flour again + lastly the last of your buttermilk.

Scrape the bottom of your bowl so as to make sure all the buttery floury mixture is co operating. So for fun I have used a 2lb loaf tin + a 8" round tin to bake my cakes in but you can use any combo you like.
Rub your butter all over the inside of the tins so the cake wont stick to the sides, evenly pour your mixture into both your pans + bakes @160' for 40mins.

While the cakes are baking away + making your kitchen fill with the yummy smell of lemons you can go ahead + make your lemony  orange syrup + your orange drizzle.

Simply add 1/2 cup of sugar + 1/2 cup of lemon +orange juice to a wee bowl stirring well to dissolve all the sugar....The syrups done so lets make the orange drizzle. Pop 2 cups of icing sugar in a bowl + slowly add a small amount of orange juice in now give it stir you want the drizzle to be runny enough to flow over the cake but not to runny that it wont stick in place.

Once the cakes are fully cooked pop them on a cooling rack + let cool for a moment then with a fork pierce the cakes all over. Then slowly pour over the syrup over the two cakes. its important to do this when your cakes are still warm as the cakes will suck in all the juices + make them so moist.

Once the cakes have cooled its time to "drizzle the drizzle" i like to start in the middle so it naturally pushes itself over to the edge. If its been a tad lazy you can encourage it by lifting the tray up slightly at one side + in a flash it will ooze over the sides YUM....

You are just going to love the tanginess from the buttermilk with the zingyness + freshness from the infused citrus. As an experiment i have even sampled this with white wine instead of tea + i must say it is superb lol....

ENJOY XXX


Wednesday, May 8, 2013

Gluten free banana pancakes...

Like most people I have many guilty pleasures one of which is Pinterest, I had to take the app off my phone a few weeks ago because it was sucking up all my spare memory. I think while Cathal was away in Canada I found myself in the evenings escaping to Pinterest doing "research" of course for our new house in canada. We hadnt found our house yet but that didn't stop me fantasizing about what I could do with it.

So here I am in the land of Canada + the app has now found itself on the iPad(+ back on my phone) + i came across this fun little recipe for banana pancakes. They are über quick + a bit of fun so i said what the heck il give them a go.....

What you will need for this recipe:
1 Banana
2 Eggs

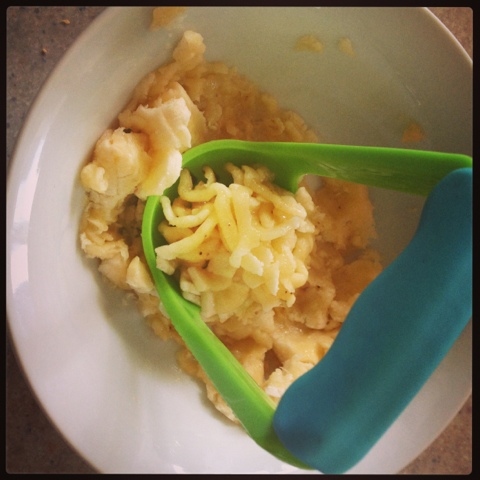
Firstly smash your banana up into a smushy paste, I used my baby food smasher because its teeny tiny + does what it says on the tin.

Next crack in both your eggs + combine well until you can't decipher between egg + banana...

Then your ready, heat your pan add a wee splash of oil + pour out your banana batter. This batter makes approx 5 small pancakes perfect for 1 portion... Give them a try they take on a lovely carmel sweet flavour from the bananas but are equally as light from the whipped eggs..

Enjoy XX


© Num Num Cupcakes. Powered by